Product & news
Cache settings in LucidLink: faster access, smoother workflows
November 2025
2 mins

One of LucidLink’s biggest advantages is being able to work with huge files directly in the cloud without having to download them first.
But if you want to go even faster, or fine-tune your experience, there’s a simple setting that makes a big difference: adjustable cache.
What is cache (and why should you care)?
Cache is temporary storage on your local drive. As you access a file through LucidLink, the parts you interact with get stored in your cache.
So the next time you open that file — or keep working on it — it loads instantly.
Instead of pulling from the cloud again, LucidLink grabs the data straight from your local cache, saving both time and bandwidth.
The cache works silently in the background. But tweaking your cache settings can improve your day-to-day speed, flexibility and control.
Why customize your cache settings?
Because not everyone works the same way. Whether you're editing 4K video, collaborating on a complex design project or reviewing high-res assets on the go, cache settings give you control over:
Performance: speed up access to the files you use most often
Connectivity: work more smoothly on slow or unreliable internet
Storage: limit how much disk space LucidLink uses on your machine
Real-world examples
Video editors can cache entire media folders before traveling, so they can edit on a plane or in remote locations with modest internet speeds.
Design teams can ensure that commonly used assets — like logos, templates or brand files — are always cached locally for instant loading.
Remote teams working in low-bandwidth environments can avoid re-downloading and reduce lag.
How to adjust your cache
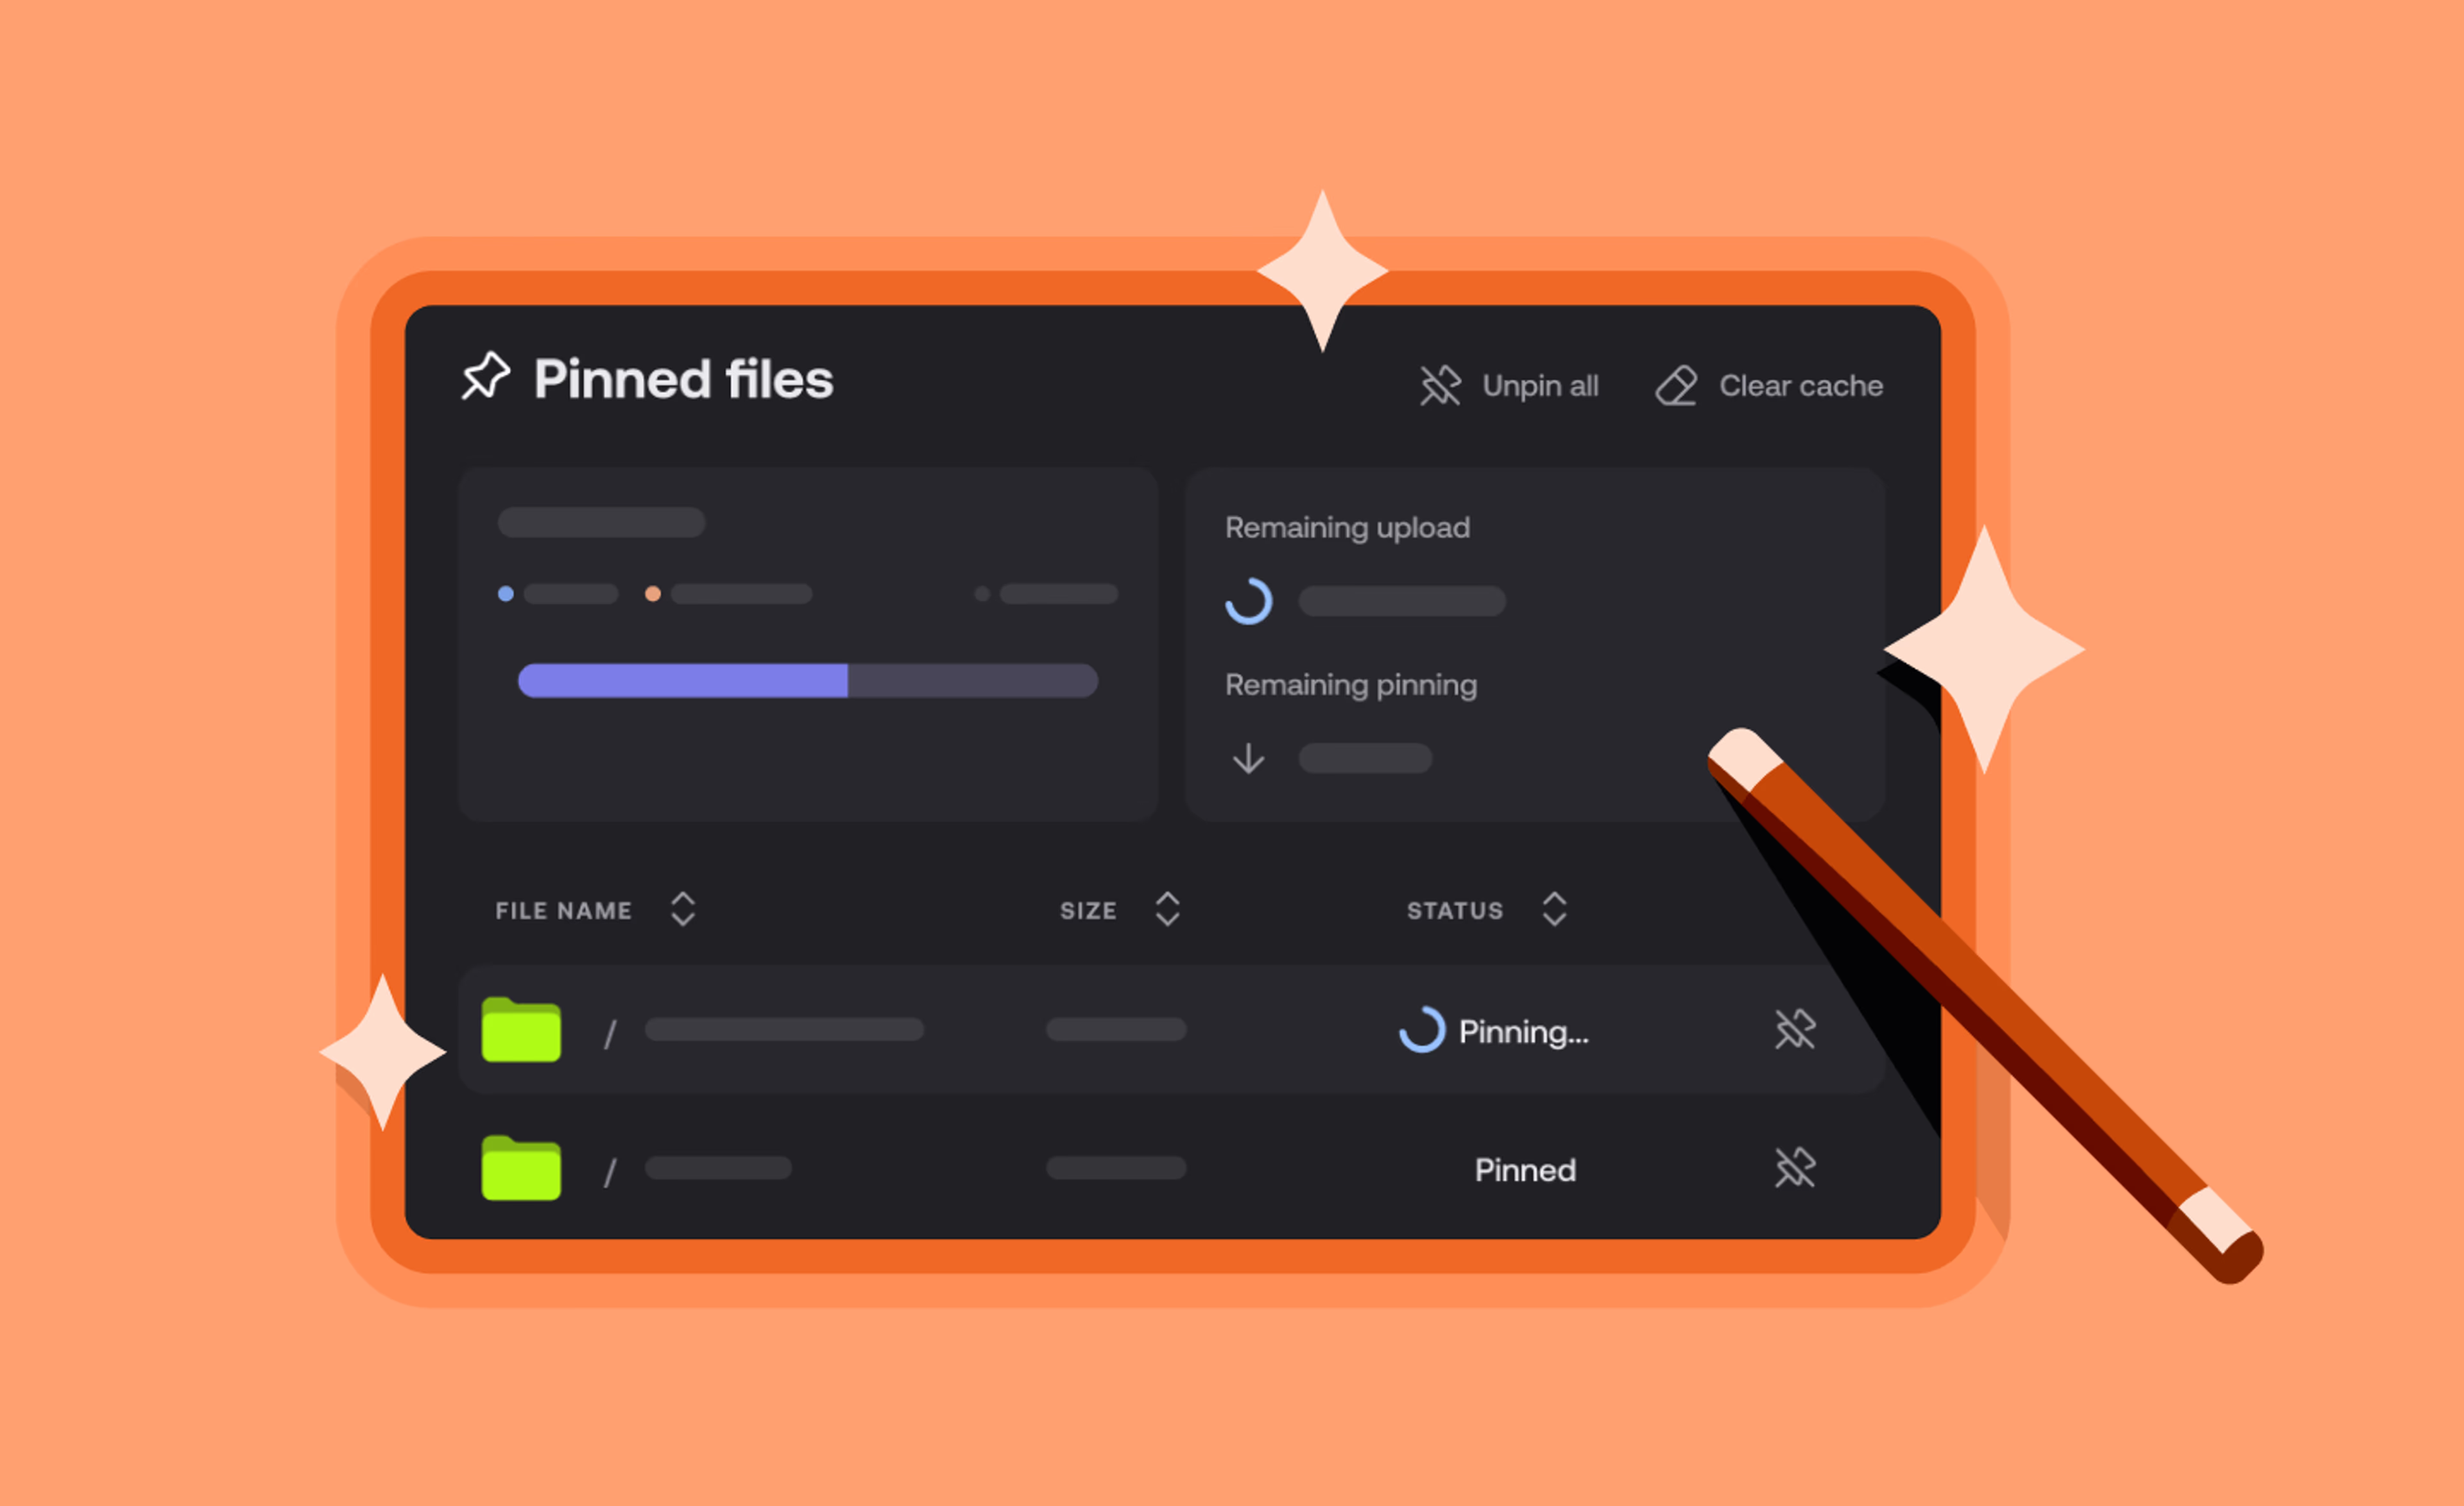
LucidLink gives you the flexibility to set cache size limits and even proactively pre-cache folders with our pinning feature.
To change your cache size or cache location, head to the filespace settings in the side menu.

If you’re an Admin user, you can change the default cache size for everyone connecting to this filespace through the Global settings tab.
Pro tip: if you're switching between multiple projects, try increasing your cache size to avoid delays. When you're tight on space, reduce it and let LucidLink automatically manage which data is cached locally, based on what was most recently used.
Want more LucidLink best practices?
Check out our other feature guides here:
Or reach out to our team — we’re happy to help you optimize your setup.
Keep reading

Cloud storage
Collaboration
Product & news
The best Nasuni alternative for cloud collaboration
Discover the best Nasuni alternative for large files — streamline collaboration, speed access and simplify hybrid workflows. Try LucidLink today.
19 February 2026, 6 mins read

Product & news
Guest Access: share work without the workarounds
Share work securely with clients, freelancers and vendors — no installs, no accounts, no extra seats. Discover how Guest Access works in LucidLink.
17 February 2026, 2 mins read

Product & news
LucidLink tips & tricks: features you may have missed
Discover lesser-known LucidLink tips from our sales engineers, from remote upload indicators to mobile workflows, Adobe plugins and more.
26 January 2026, 3 mins read
Join our newsletter
Get all our latest news and creative tips
Want the details? Read our Privacy Policy. Not loving our emails?
Unsubscribe anytime or drop us a note at support@lucidlink.com.